Salesforce Integration

Keep Your Salesforce And DialMyCalls Contacts In Sync With Zapier
In this article, we’re going to show you how to combine Salesforce and DialMyCalls through Zapier. Zapier is a platform that makes automating different services super easy, saving you time and resources in the long run.
The example we’re going to use in this article involves automatically syncing your new Salesforce contacts with DialMyCalls. This allows you to easily keep up with your Salesforce contacts and reach out to them through DialMyCalls’ voice and SMS broadcasting system when necessary. This saves you the time of having to copy over your Salesforce contacts by hand and reduces the risk of accidentally forgetting about one of your Salesforce contacts.
Salesforce + DialMyCalls Integration (Video)
What You’ll Need:
- A premium Zapier account
- A Salesforce account
- A DialMyCalls account
Step 1: Create Your Zap
The first step is the simplest: You need to create your Zap. To do this, log into your Zapier account and go to your Dashboard. It should resemble the following:
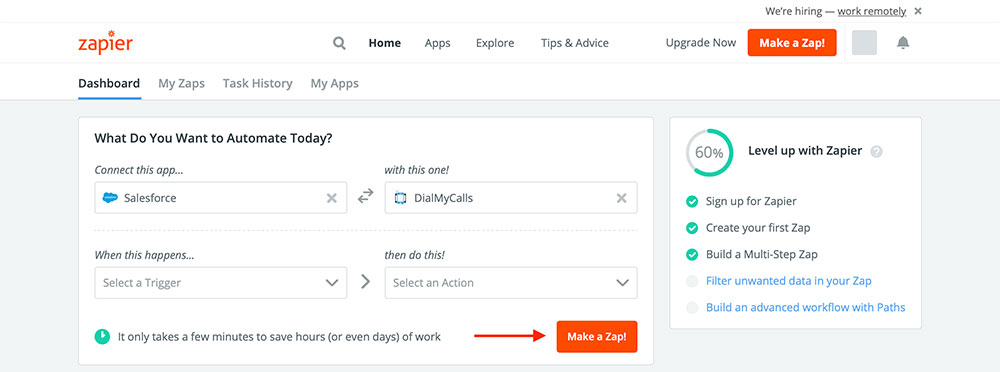
The only box we need to pay attention to right now is What Do You Want to Automate Today? This is where we’re going to create the framework for our Zap. In the first field, Connect this app…, type in “Salesforce,” and select it once it appears. In the second field, with this one!, type “DialMyCalls,” and select it once it appears. The end result should look like the screenshot above. Once you’re ready, go ahead and press the orange Make a Zap! button in the bottom right corner, as indicated by the red arrow in the screenshot.
Step 2: Create Your Salesforce Trigger
After pressing the Make a Zap! button, you should be looking at the following screen:
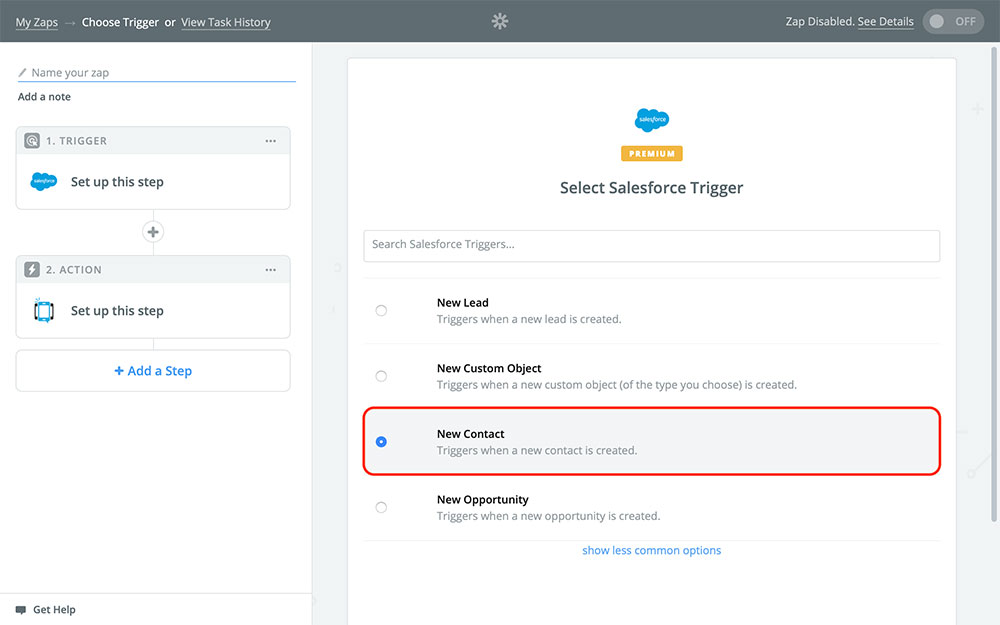
This is where you’re going to choose your Salesforce Trigger. Your Trigger is what tells your Zap when to run; every time X happens, the Zap will do its thing. In our case, we want to keep our Salesforce contacts in sync with our DialMyCalls contacts. Every time we get a new Salesforce contact, we’ll want this Zap to run. So, as shown in the screenshot above, choose New Contact. If you don’t see it as one of the available options, you can easily find it by using the search bar at the top of the page.
Once you have it selected, Continue.
On the next page, you’re going to connect your Salesforce account to Zapier. If you’ve already done this, you should see your Salesforce account listed as an option like below:
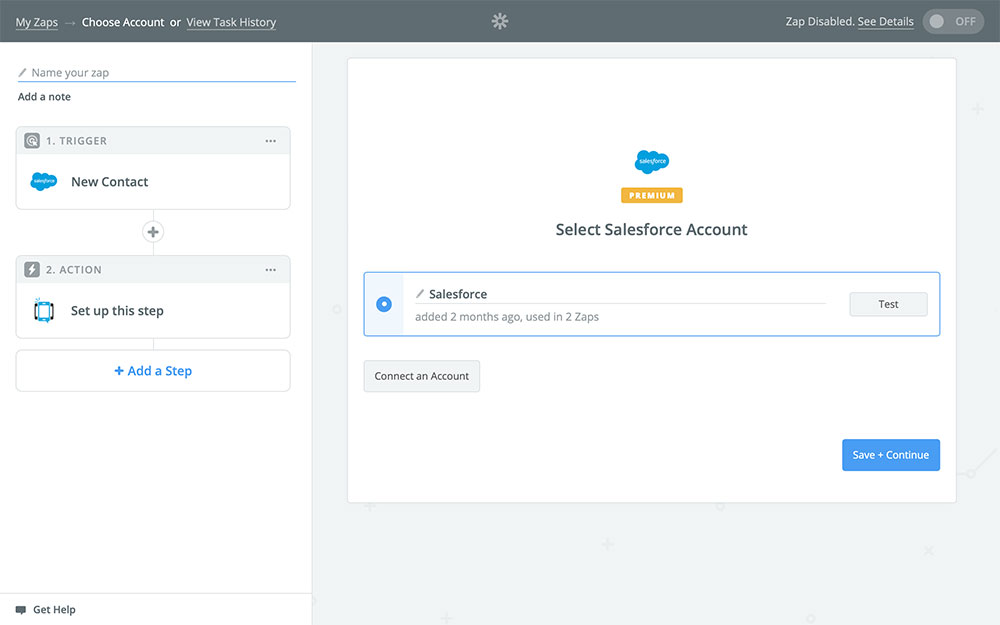
If your account isn’t listed, then you’ll need to select Connect an Account and follow the onscreen instructions. Once you have it selected, Continue.
Next, Zapier is going to ask you for a Sample. Samples are what Zapier uses to make the template for your Zap. It keeps things simple and easy to follow so that when your Zap does run, you already know exactly how it’s going to work.
Zapier has two ways of creating a Sample. It will either use an existing bit of information from your account – in our case, that would be an existing Salesforce contact – or it will create a random one. We typically recommend going with a random Sample, as it makes everything simpler and easier. It also prevents issues that can occur later on with testing, which we’ll touch on when we get to that point. However, if you’d like to use a Sample from your existing contacts, go for it!
After you finish connecting your account, you should be faced with the following screen:
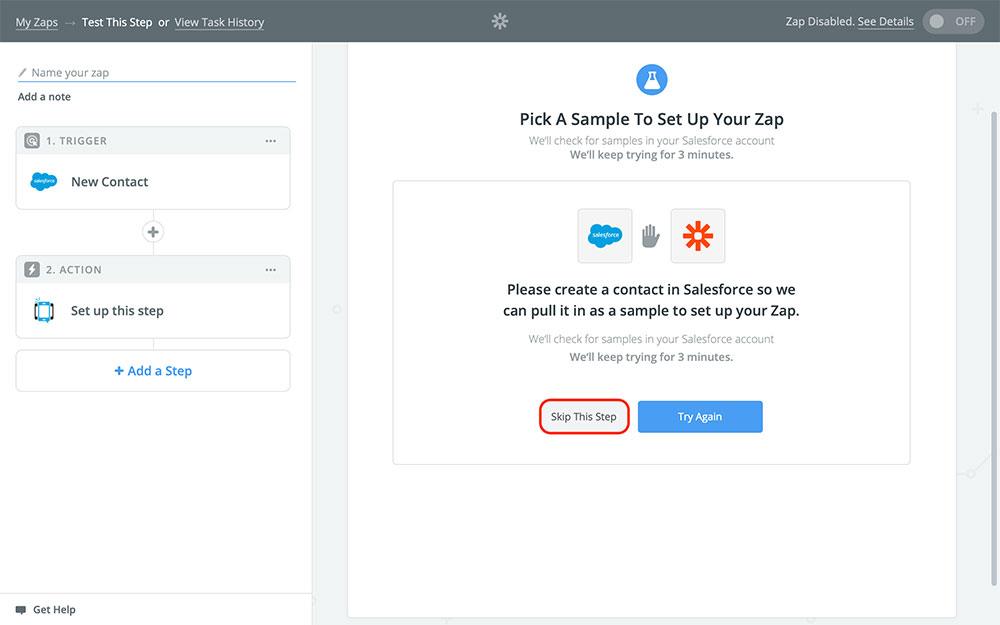
In our case, we’re going to choose Skip This Step to create a random Sample, like so:
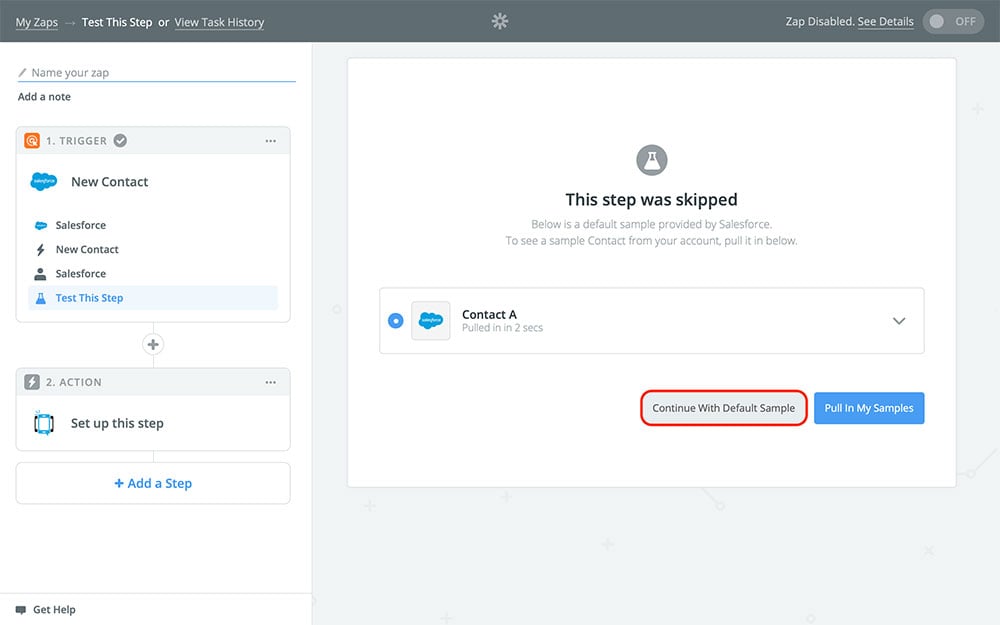
Once you have your random Sample, choose Continue With Default Sample.
And that’s it for this step! Now it’s time to create your Action!
Step 3: Create Your DialMyCalls Action
It’s time to create your Action. The Action is what your Zap is actually going to do once it runs. In this section, we’re going to get specific about what that means.
After you’ve finished selecting your Sample, Zapier will bring you to the following screen:
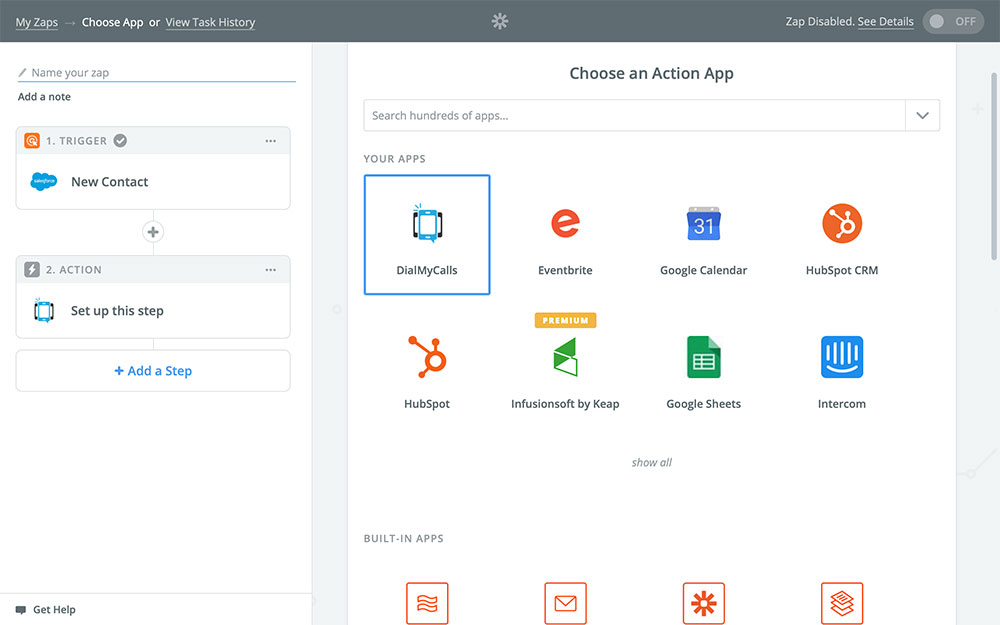
Since we chose to connect Salesforce to DialMyCalls in Step 1, you should see DialMyCalls already selected like in the image above. If you don’t, though, no worries! Just search for DialMyCalls in the search bar and select it once it appears. Once you have it selected, Continue.
Next, it’s time to select your Action:
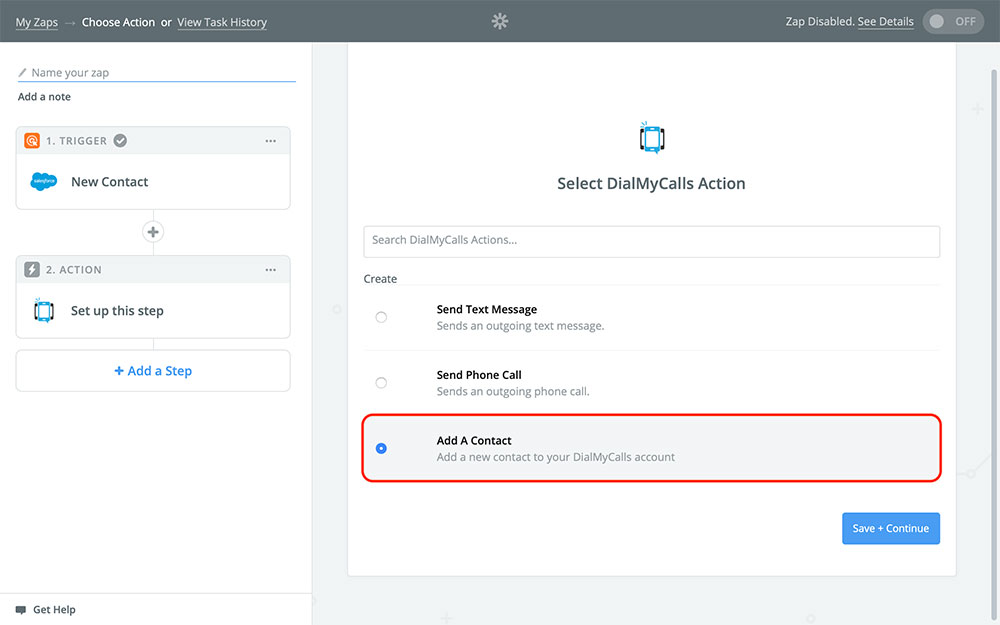
The way our Zap is going to work is that each time we get a new contact in Salesforce, DialMyCalls is going to copy that contact as a new contact. To do this, we’re going to choose Add A Contact. Once you have it selected, Continue.
Next, just like with Salesforce, you’ll need to connect your DialMyCalls account to Zapier:
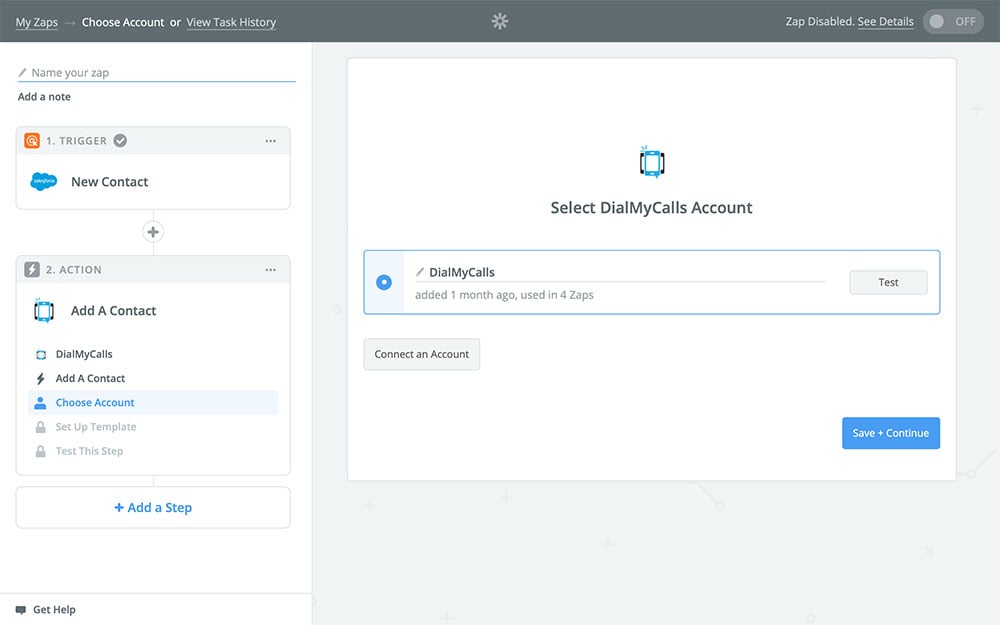
If you’ve already used DialMyCalls with Zapier before, you’ll see it listed as an option like the image above. Otherwise, you’ll choose Connect an Account and follow the onscreen instructions to connect the two services. Once you’ve done this, Continue.
You should now see the following screen:
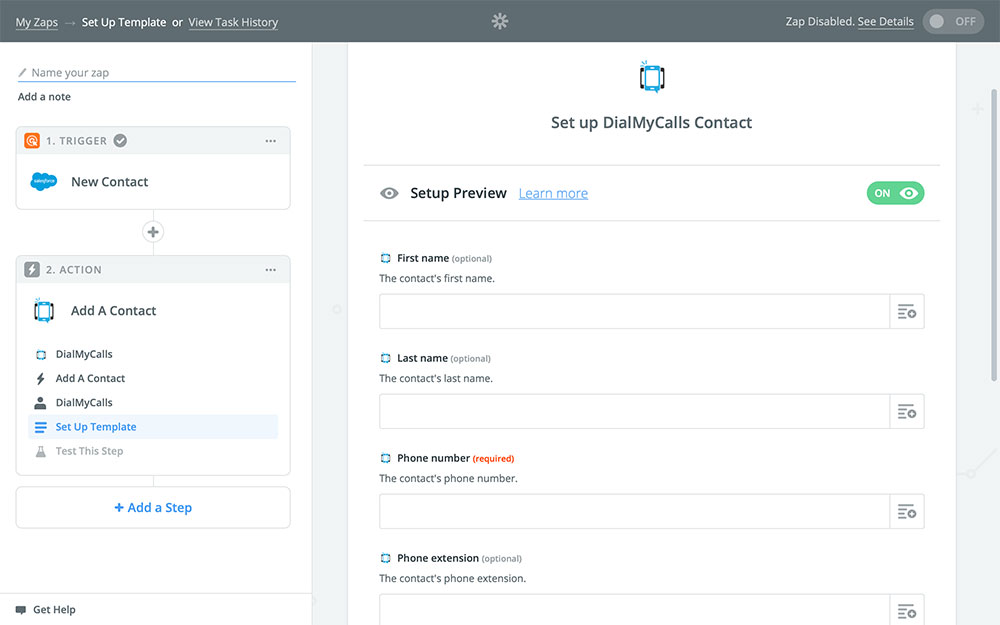
This is your Action template. It’s where we’re going to choose exactly how our Zap copies new contacts into DialMyCalls. As you can see, each field adds a different bit of information pertaining to a specific contact. The only field you’re required to fill in is Phone number. However, if we only fill in this field, then our contacts are going to be pretty bare in DialMyCalls.
You can fill in as many or as few of the fields as you like, but we’re going to walk you through the ones that we feel are the most important. First up is First name. Click the little drop-down menu to the right of the field and choose First name, like so:
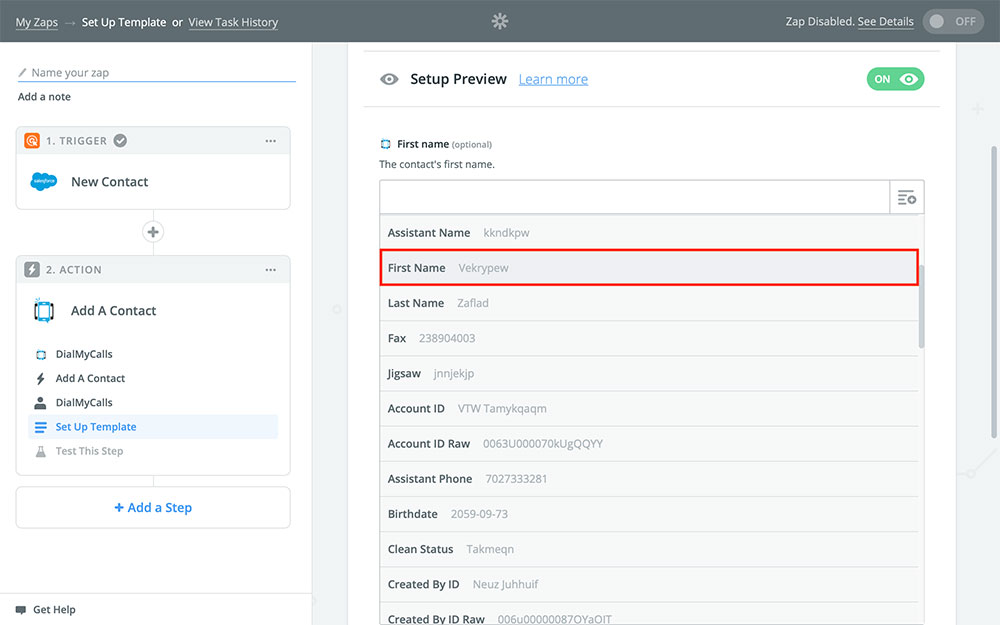
You’ll see a little green bubble with your Sample’s first name in the First name field now. This bubble is a variable. Variables change every time your Zap runs, always using the contact information from the contact that triggered your Zap. So if you get a new contact named Emily, the variable in the First name field will say “Emily”. Pretty handy!
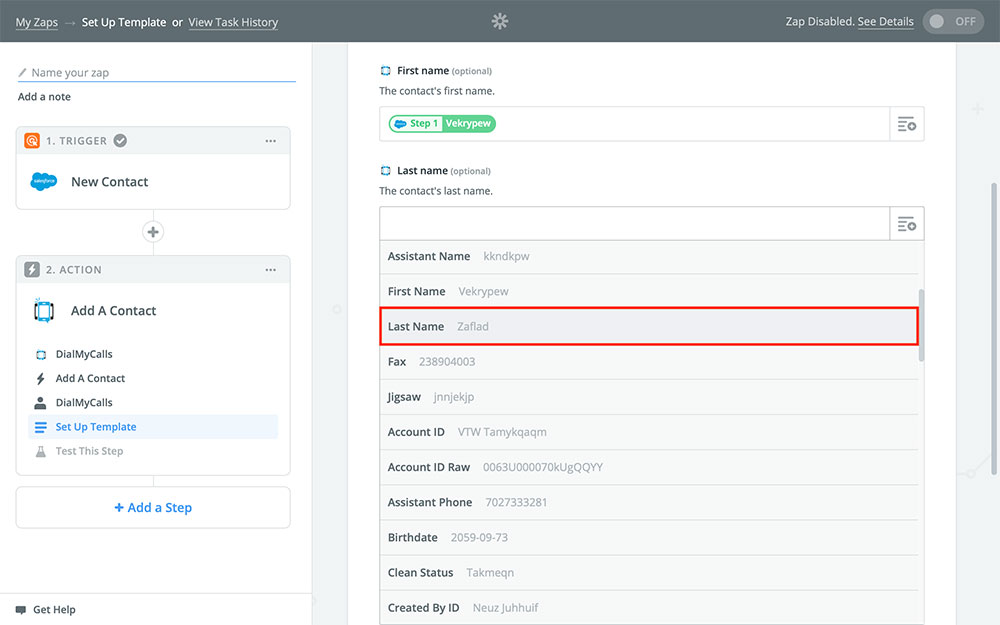
Next, we’re going to fill in Last name the exact same way:
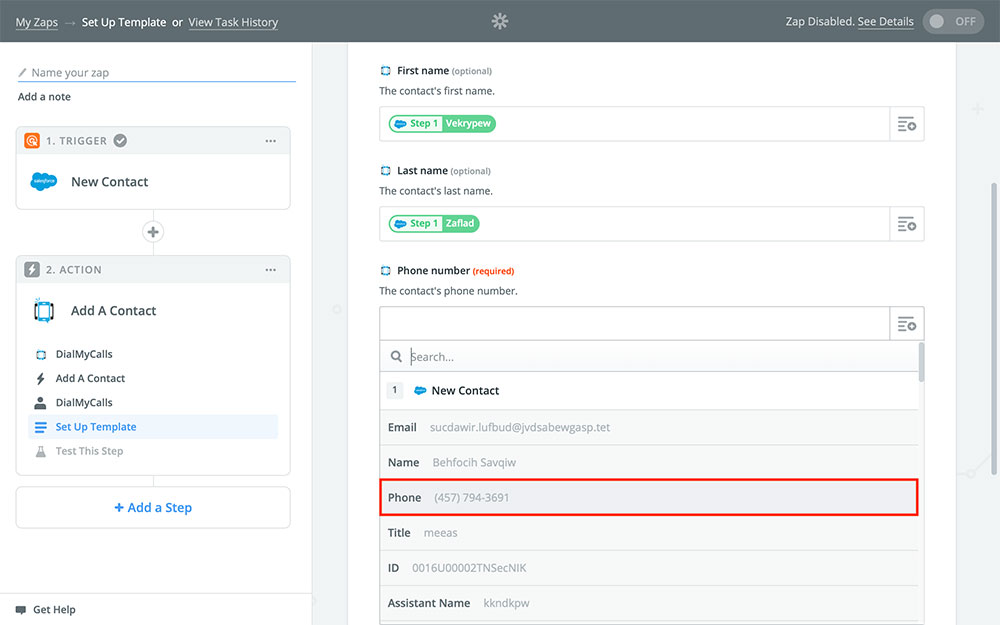
And again for Phone number:
Now if you’d like, you can easily stop here. You’ve got all the basics! But Salesforce provides you with your new contact’s email. And since we’re already here, we’re going to go ahead and add it:
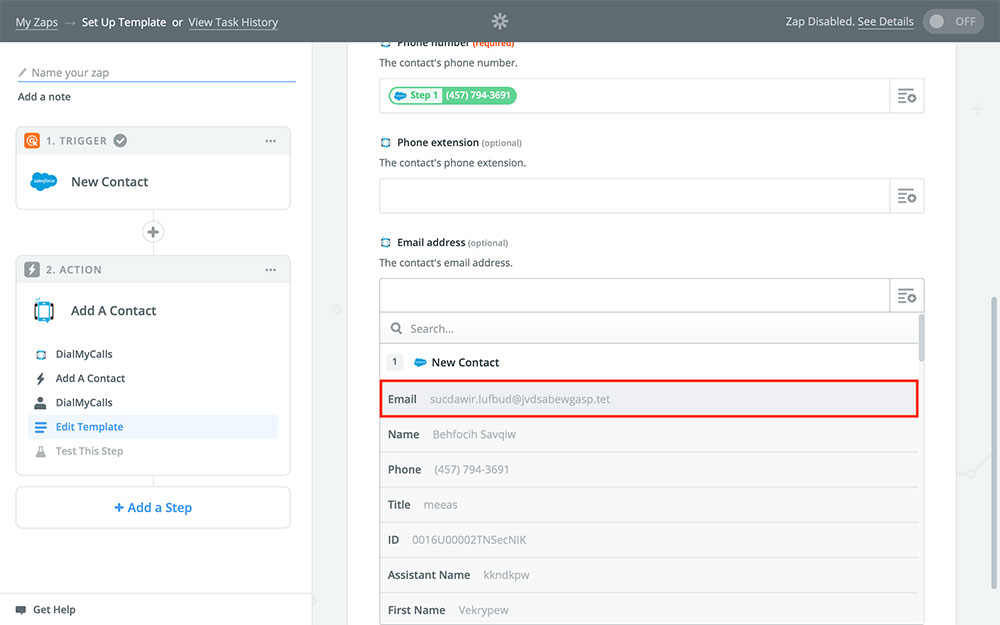
Your completed template should look something like this:
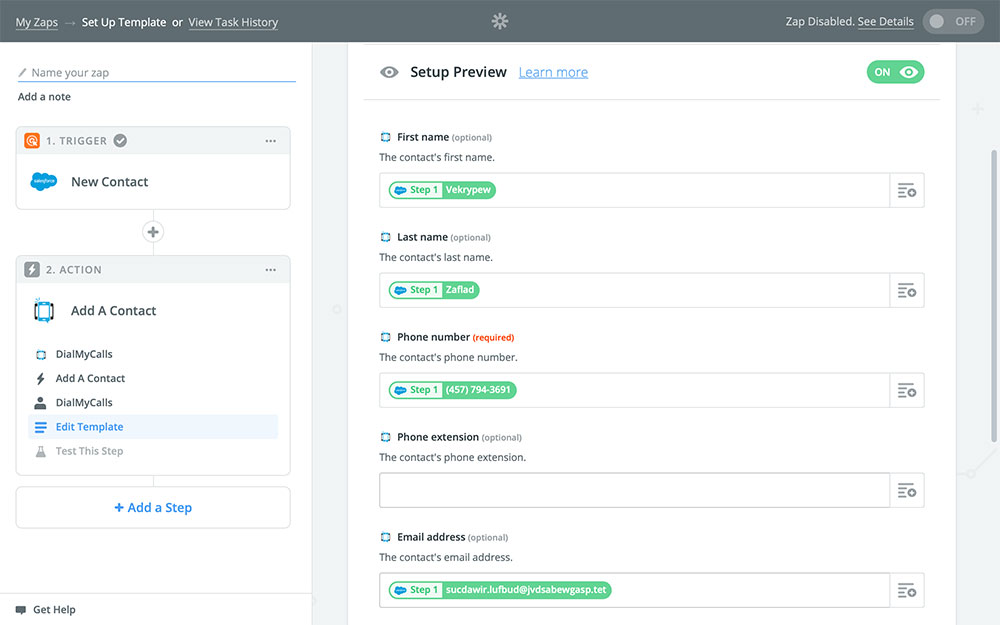
Once that’s done, Continue to the next section. You should now be looking at the following:
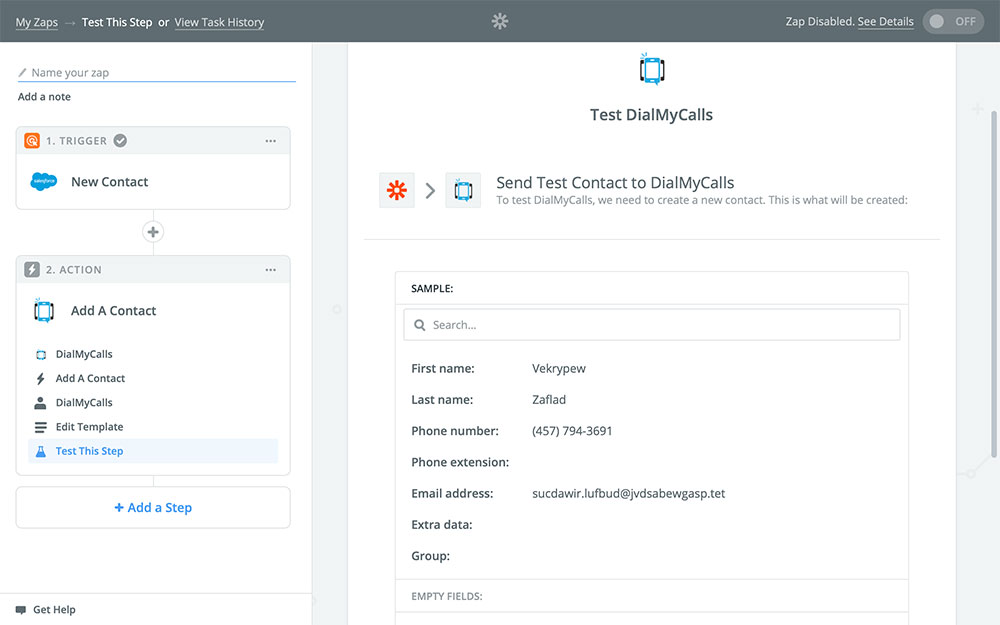
This is where you can test your Zap to make sure it’s working properly. Testing your Zap is totally up to you, though most of the time it isn’t really necessary. Just keep in mind that when you do test your Zap, it will use the Sample you chose when it runs. So the Sample we created earlier will be added to your contacts in DialMyCalls when you test this Zap. If you don’t want to test the Zap, feel free to Skip it.
Next, all that’s left to do is give your Zap a name and turn it on:
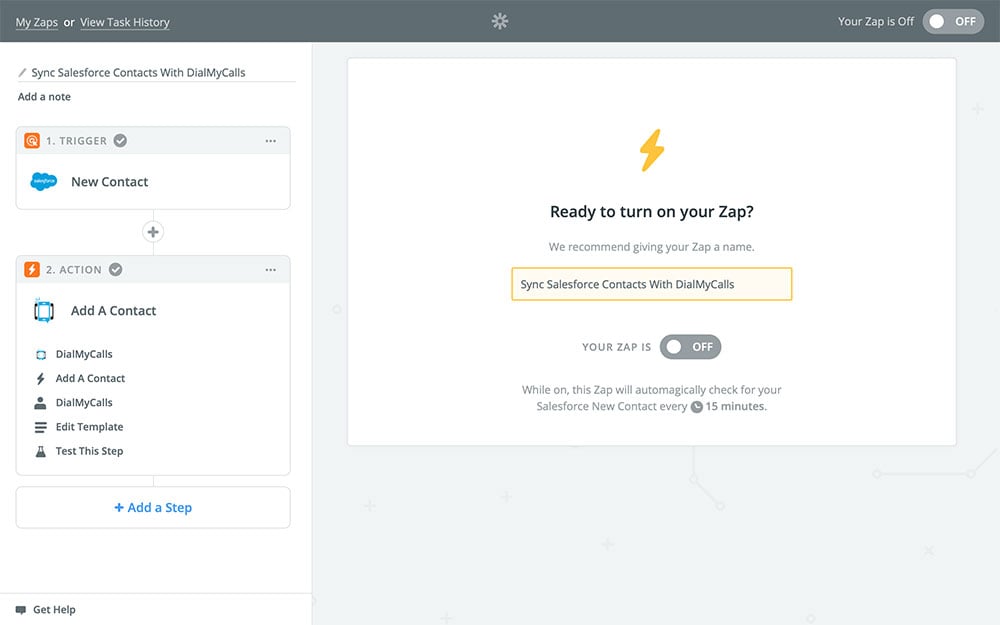
Just keep in mind that once you turn your Zap on, it will officially be live! Any new contacts you add in Salesforce will automatically be copied to DialMyCalls.
DialMyCalls + Salesforce Integration Conclusion
Here’s a quick recap of everything we did:
- Created a Zap that connects Salesforce to DialMyCalls
- Set our Zap to run each time we add a contact in Salesforce
- Copied the information from our new Salesforce contact to DialMyCalls, keeping the two contacts lists in sync
This Saleforce Integration is one of the key aspects that makes DialMyCalls and Zapier so helpful. It’s easy, quick, and to the point. It takes something you would normally do by hand – copying contacts across services – and makes it an automated process – you’ll never have to take time out of your day to do this on your own. Now that your new Zap is created you can send voice broadcasts, SMS Text Message and email broadcasts to your Salesforce contacts.
If you have any additional information regarding the DialMyCalls + Salesforce Integration, please contact us today!